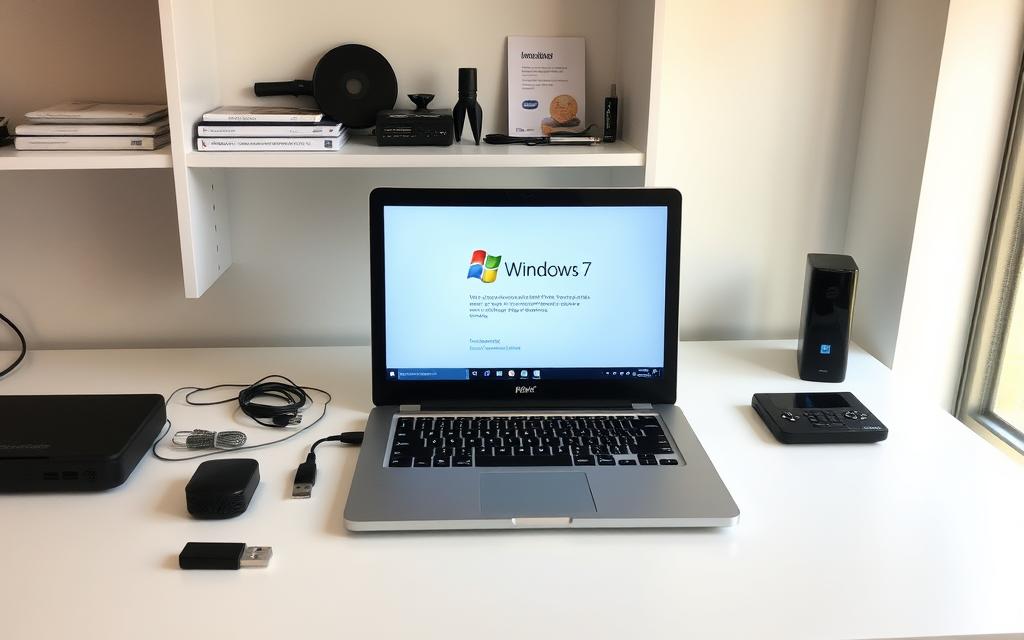
Starting a clean install Windows 7 on a device without an OS needs careful planning. Unlike upgrades or fixes, bare metal installation involves making bootable media and setting up hardware. It also checks if everything is compatible to avoid mistakes.
First, get a trustworthy Windows 7 ISO file and a USB drive with at least 4GB. Microsoft’s USB/DVD Download Tool makes creating bootable media easy. But, other software works too. Make sure your hardware meets Microsoft’s needs, which is important for older computers.
Changing BIOS settings is key for bare metal installation. Most systems use storage drives first, not external media. You must change the BIOS settings (usually by pressing F2 or Delete) to make USB/CD-ROM the first boot device. The exact steps can differ, so check your motherboard manual if needed.
After installing, you’ll need to update drivers, set up security, and activate the system. Our detailed guide helps with partitioning and managing licences. Always back up important files before starting, as formatting will delete everything.
Essential Requirements for Windows 7 Installation
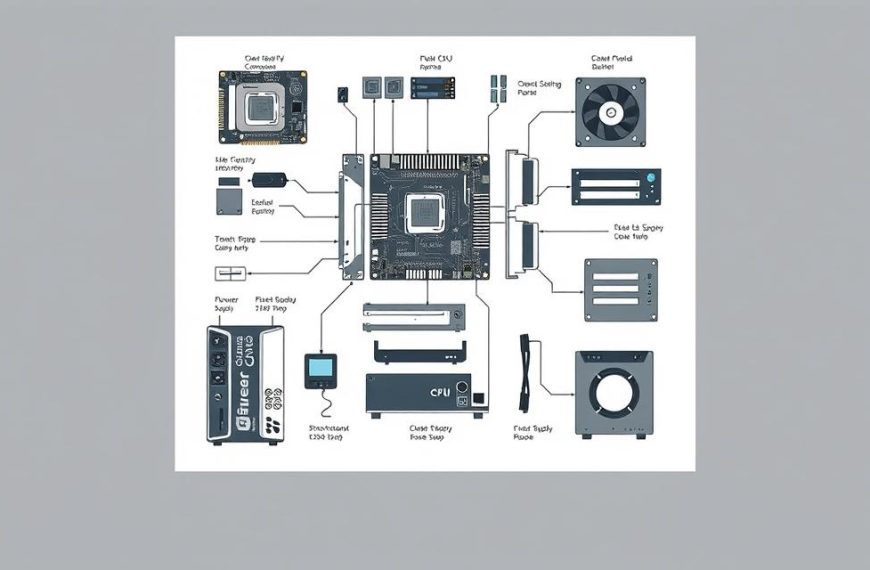
Before you start installing Windows 7, you need to check a few things. You must validate your hardware, have the right installation tools, and protect your data. This ensures your device meets Microsoft’s standards and keeps your data safe during setup.
Verifying Hardware Compatibility
Windows 7 needs a 1GHz processor and at least 16GB of storage. The amount of RAM depends on the architecture:
| Component | 32-bit Version | 64-bit Version |
|---|---|---|
| RAM | 1GB | 2GB |
| Storage | 16GB free | 20GB free |
Look at your motherboard’s storage mode in BIOS settings. Systems with AHCI mode usually work better than those with IDE. But, you might need to update drivers during installation.
Gathering Installation Media and Tools
You’ll need a few things:
- A bootable USB/DVD with Windows 7 ISO
- 25-character product key
- Network drivers for post-installation updates
Microsoft’s official USB/DVD tool works for many. But, tools like Rufus might be better for newer hardware. Make sure your USB drive has 4GB minimum capacity.
Preparing for Data Loss Prevention
Installing an OS will erase all data on the target drive. If your system has Linux:
- Back up your personal files to external storage
- Document partition structures using GParted
- Disconnect non-essential drives during installation
Cloud storage services like OneDrive can help with backups. Remember, physical drive letters may change during Windows setup. So, double-check your connections.
Creating Bootable Installation Media
Creating reliable bootable media is key for a successful Windows 7 installation. You can use Microsoft’s tools or third-party software. Make sure it fits your system, whether old or new.
Selecting Appropriate USB Drive Specifications
Not all USB drives are the same for this task. Choose a USB 3.0 drive with 8GB+ capacity. While 4GB is the minimum, a bigger drive is better for updates. For older systems, a USB 2.0 drive might work better.
Official Method: Windows 7 USB/DVD Download Tool
Microsoft’s tool makes it easy for beginners:
- Download the utility from Microsoft’s official archive
- Select your Windows 7 ISO file
- Choose “USB device” and target your inserted drive
This method formats the drive as FAT32. But, it’s not flexible for newer systems.
Third-Party Solution: Using Rufus 3.22
Rufus is great for those who know more about their hardware. It automatically picks the right partition scheme for your system.
Configuring FAT32 Formatting Properly
In Rufus’ interface:
- Set file system to FAT32
- Choose 32KB cluster size for optimal performance
- Enable “Quick Format” only if the drive is new
This setup works for both old and new systems.
Ensuring Correct ISO Burning Process
After loading the Windows 7 ISO:
- Verify SHA-1 checksum matches Microsoft’s official records
- Select “Standard Windows installation” mode
- Disable unnecessary persistence settings
Rufus shows you when it’s ready. Wait for the green “READY” indicator before removing the drive.
“Third-party tools like Rufus often provide better support for mixed BIOS/UEFI environments compared to Microsoft’s basic utility.”
Configuring BIOS/UEFI for Installation
Setting up BIOS/UEFI right is key for your system to see the Windows 7 install media. This step changes with each maker and needs exact tweaks to boot priority sequence settings. Some newer systems might need legacy BIOS settings turned on to work with older tools.
Accessing BIOS on Dell, HP, and ASUS Systems
Different keys start the BIOS setup for each maker:
- Dell: Press F2 over and over at start-up
- HP: Hit ESC before the loading screen shows
- ASUS: Press DEL right after turning it on
Systems often flash “Press [KEY] to enter setup” quickly. You have just 2-3 seconds to act.
Setting USB Drive as Primary Boot Device
Go to the Boot tab with the arrow keys. Look for these options:
- Boot Device Priority
- Hard Drive BBS Priorities
Move your USB drive to the first spot with the +/– keys or F5/F6. Press F10 to save and exit.
Enabling Legacy BIOS Compatibility Mode
New UEFI systems need these tweaks for Windows 7:
- Turn off Secure Boot in Security settings
- Enable CSM (Compatibility Support Module)
- Pick “Legacy OPROM” for storage devices
Warning: These changes might mess with Windows 10/11 installs. Switch back to original settings after installing Windows 7 if you plan to dual-boot.
Performing the Windows 7 Installation
The installation phase turns your hardware into a working Windows 7 system. This key stage needs careful focus on drive setup and system choices for the best performance. Making sure your partition alignment is right and knowing about the system reserved partition can prevent problems later on.
Starting the Setup Process
First, choose your language and keyboard layout after booting from the installation media. Then, click Install Now to start. You’ll see two installation options:
- Upgrade: Not available if you don’t have an OS
- Custom (advanced): Needed for a fresh start
Agree to the licence terms before you get to disk management. This part decides how your storage will be set up.
Hard Drive Partition Management
Drives over 1TB need special partitioning. The setup screen shows all storage devices and their current partitions.
Removing Existing Partitions Safely
Choose any partitions you don’t want and click Delete. Confirm when asked. Warning: This will delete all data on those partitions. For SSDs, let Windows handle the partitioning for you.
Allocating Space for System Files
Click New to make new partitions:
- System Reserved (100MB): Automatically made for boot files
- Primary Partition: Give at least 60GB for 64-bit systems
Windows makes the system reserved partition during setup. This hidden area holds important boot data and should not be changed.
Completing Regional and User Settings
After copying files, set up these important settings:
- Choose your time zone for scheduling
- Keyboard layout affects special character input
- Create a user account for admin rights
Enter your product key when asked. If you activate later, choose Skip and activate within 30 days. Finish these settings to get to your new Windows 7 desktop.
Essential Post-Installation Steps
Setting up Windows 7 is just the start. You need to focus on drivers and updates right away. These steps ensure your hardware works well, keep your system safe, and check if Windows is genuine.
Installing Motherboard and GPU Drivers
Finding the right drivers for old hardware can be tough. Start by checking your motherboard’s support page. Most sites have downloads for older systems. For GPUs, Nvidia and AMD have old driver libraries. If you can’t find these, use Device Manager:
- Right-click Unknown Device > Update Driver Software
- Select Browse my computer for driver software
- Navigate to your downloaded driver files
| Source | Advantages | Considerations |
|---|---|---|
| Manufacturer Website | Official, version-specific | May require manual search |
| Device Manager | Built-in Windows tool | Limited database |
| Third-Party Tools | Automatic detection | Potential security risks |
Applying Critical Security Updates
Microsoft’s offline update catalogue is key, as Windows Update for Windows 7 stopped in 2020. Focus on these updates:
- KB4490628 (Servicing stack update)
- KB4474419 (SHA-2 support)
- KB4534310 (Security-only rollup)
Start with the SHA-2 update. It’s needed for modern security patches. Use WSUS Offline Update to download updates offline.
Activating Windows 7 Licence Properly
“Product activation helps verify Windows is genuine and installed properly.”
For retail licences, use the product key from your packaging. OEM versions usually activate automatically. If you face issues, run these commands as Administrator:
slmgr.vbs /ipk [your-product-key]slmgr.vbs /ato
Remember, Windows 7 activation servers are working, even though support ended. If you get error 0xC004F069 after three tries, contact Microsoft support.
Conclusion
Finishing a Windows 7 fresh install shows how key careful planning and action are. You need to check your hardware fits, set up your BIOS/UEFI right, and manage drivers well after installing. Using tools like Microsoft’s official tool or Rufus 3.22 helps avoid many mistakes.
After installing, focus on getting drivers for your motherboard and graphics card. This includes drivers from ASUS or Dell for motherboards, and from NVIDIA or AMD for graphics. It’s also important to keep your system updated, even though Windows 7 is no longer supported. Companies can use Microsoft’s Extended Security Update programme for extra protection.
Make a system image backup with tools like Macrium Reflect or Acronis True Image. This is very helpful after you’ve set up everything. It makes recovering your system much easier.
If you’re setting up many systems, keep track of how to access BIOS for HP, Dell, and ASUS. Make sure your licence is active in the Control Panel to avoid legal problems.
Share your experiences with Windows 7 fresh installs below. Did tools like Rufus make creating boot media easier? What problems did you face with drivers on older hardware?

